Pages


Wednesday 29 December 2010

Merry Christmas

I hope everyone had a very merry christmas and got lots of good things/nice time with family!

This is a bit of a double blog today - first a few things that I have painted up since my last update. I've been aiming to get my Epic Imperial Guard finished for a long time but I can't stop adding more to it thanks to eBay!

I recently finished a second Leman Russ tank company - these are the 3rd edition models as opposed to the Epic Armageddon models that my first tank company is made up of. I like these models as they are more detailed and in my opinion, have a bit character to them. The photos dont really do them justice though (thanks iphone camera...) and they could do with a quick spray of matt varnish

Photobucket

Photobucket

These are my bike-based rough riders. These are some nice old-skool models that I picked up from **ck knows where.

Photobucket


Now, it appears to be a bit of a common theme to show what kind of stuff you got for Christmas. My girlfriend doesn't like buying me stuff from GW but I did get this from the cat... just like my epic IG, I can't stop adding to my 40k IG either!

Photobucket

It's a gorgeous kit and I love the fact the turrets and sponsons are interchangeable without the need for faffing with magnets!

I also got:
Photobucket

And this to drink whilst watching it:
Photobucket

Sunday 28 November 2010

Beasts :)

Well, I've finally got around to finishing off my Trygon and Mawloc.

I really wish I had the talent to paint these the way they should be painted but I don't. After the dip has been thinned down with water, I give the can a good shake and apply the dip with a GW tank brush and hang them upside down on the washing line. Once dry, they get a light spray of matt varnish to tone down the glossy effect and any bits that need touching up get done. So without further ado, here are the "dipped" bad boyz:

Pre-dipping-a pretty basic paint job, but as neat as possible
Photobucket

Photobucket

The trygon prime
Photobucket

Photobucket

Photobucket

The Mawloc - the base has been designed to look like the mawloc has just ripped out of the ground, and it matches the base of my battle board, whilst also tying in with the rest of the army.

Photobucket

Photobucket

Photobucket

Overall, I think these are the best models that I've dipped. If I had the talent I wouldn't go down the dipping route, but as a quick alternative I would recommend it. Only a few more models to go and the army will be complete :)

Saturday 13 November 2010

Epic fun

Dragon's Age is finally completed and I am back at the painting table. I simply haven't been bothered to update this recently but here we go...

Picked up another 2 Epic scale Warhounds from Forgeworld recently and I've got round to starting to paint them. I've been struggling on coming up with a suitable impressive paint scheme for my Titan Legion, but figured as warhounds are basically scout titans, they would want to at least attempt to blend in with their surroundings (as ridiculous as that sounds...). I'm therefore going, with the warhounds at least, for a similar paint scheme as the rest of my epic IG army, namely a dirty desert yellow colour:

Just WIP at the minute
Photobucket

I also recently sold the majority of my Epic scale Chimeras on ebay and replaced them with the slightly smaller Forgeworld variant. These are actually finished now but here's a WIP picture:
Photobucket

Here we have 4 Forgeworld Valkyries and accompanying storm troopers. I've had these for several years now and simply haven't got around to painting them:
Photobucket

Photobucket

Photobucket

Photobucket


And finally, a quick shot of my recently "dipped" hormagaunts/Hive guard. Yes, the nids are still getting some love, and I'm due to butcher my trygon and mawloc models by dipping them in the next few days. I only wish I could paint them to a standard that does such lovely models justice...
Photobucket

Photobucket

Photobucket

Friday 8 October 2010

Finally an update!!

Well it's been a while but I have been a busy ape. And I will update this blog several times over the next week to compensate...

First of all I went on holiday to Cornwall with the mrs. Was hoping to get some surfing done but the arm/shoulder wasn't up to it.   

However I did convince Kate to play the A Bridge Too Far boardgame by Battlefront (makers of Flames of War) with me. I picked this up from Maelstrom mid-August and whilst it's not the most complex of wargames/boardgames, it is good fun and we had the rules pretty much nailed by the end of the game. The only criticisms of it are that the rules are not always 100% clear on what happens in a specific situation (e.g. the paratroopers starting out with two supply tokens each on the initial landing) and that it's a bit too random at times.

Here are some pics of the board at the end of the game laid out on the slightly too small table in the caravan:

Photobucket

Photobucket

Photobucket

Photobucket

Kate insisted on playing as the Allies and stomped up the board with a flurry of above average favourable initiative dice rolls.  However, a change of fate in the final turn gave the Germans, together with their newly arrived Panzers, the opportunity to overrun and push back the stretched out allied troops.

The final result?  A tactical victory to the Germans after holding on to Nijmegen Bridge!

Monday 30 August 2010

Distracted...

Not much painting done and no real update. Why? Because I've been playing Dragon Age: Origins on the Xbox 360.  No one told me it would be such an addictive game!!!

That's "me"...
Photobucket

Photobucket

The other reason is that I've finally been given the go ahead by the fracture specialist to start running and going swimming again. So... that's what I've been doing. I have ideally between half a stone and a stone of weight to lose and 2 or 3 inches off my waist.

Pics of my hormagaunts next time.

Thursday 12 August 2010

Tank! Glorious Tanks!

Ok a slightly misleading title as there are only a handful of tanks involved.

Basically I'm a tread head. I don't know when it happened or even exactly how it happened, but I woke up one day and had lots of Imperial Guard tanks.  I used to hate tanks and I used to hate painting tanks, and then I picked up a Leman Russ, and it escalated from there...

I picked up an airbrush (gravity) and compressor with tank from eBay about 6 months or so ago, and I have been getting used to its intricacies.  I think I've finally got to the stage where I am getting the finish that I am after.  The main problem now is that my new tanks don't match the old brush-painted colour scheme of my existing tanks due to the fading out effect that the airbrush achieves.  I haven't yet decided if I am going to repaint all my old tanks to match, or simply hope no one notices (too much).


Here are some pics of my newly painted Manticore and my converted Tank Destroyer, made out of a spare leman russ hull, a piece of Cities of Death scenery and some green stuff sandbags.  The base coat was applied with the airbrush, drybrushing then weathering was applied, before thin washes of badab black and devlan mud were applied to give the dirty oily look.  The tanks were then gloss varnished (with Johnsons Pledge), transfers were applied and some Tamiya weathering powders applied, before being finished off with a light spray of matt varnish.

Enough waffling:

Photobucket

Photobucket

Note the blue Tamiya weathering powder on the missile exhausts and the transfers on the missile to break up the blandness of the model...
Photobucket

Designation Defiance - number 01. The plan is to eventually have a battery of three (like all my artillery)

Photobucket

This has slightly too high a profile for my liking but that is because I am using a standard Russ hull as opposed to a Mars Pattern like the Forge World version.
Photobucket

Kill markings on the side of the barrel (black skulls)
Photobucket

Photobucket

Photobucket

And... here's my work in progress Shadowsword. The beauty of this kit is that with very little effort, I can make all 6 variants!

Photobucket

Finally-another Baneblade and Shadowsword! I purchased these off a chap on Warseer for a very reasonable price. Will be a while before I get around to them though!

Photobucket

Hope you all enjoy the pics :)

Friday 6 August 2010

Dipping-an Ape's guide...

I've been scratching my head over what to post as my next topic, and Ant has once again provided the inspiration.

As those of you who know me are aware, Imperial Guard are my main 40k army.  I've spent a LONG time collecting and painting all the models, and it's an army I keep going back to and adding more stuff to (mainly tanks but I also have plans for yet another infantry based force with another colour scheme).  What people don't know is back in the mists of time of 2nd Edition 40k, my first complete army was Tyranids.  This was mainly composed of Tyranid warriors from the classic box game Tyranid Attack (a revised version of Advanced Space Crusade), some genestealers from Space Hulk and the handful of metal models that, given I was only 14 years old with no regular income, I had to wait to get for birthdays etc.  It was a reasonably successful army but lacked a lot of the core elements of a Tyranid army, so no carnifexes or termagants.

So fast forward 15 odd years and I got my sticky hands on three of the old battleforces, along with a few other bits and pieces to make a nice solid core and enough for a viable Apoc force.  But then the question came as to how to paint them? After having spent 2.5 years painting 90 Guardsmen, could I stomach painting 100 odd gaunts?


NO!

So what were my options? Simples! Dipping!

The very concept of dipping an army is anathema to many painting purists. They feel it is cheating, and that it takes away all the pleasure and satisfaction of a nicely painted army that has taken longer than the Great Wall of China to paint.  To me, and indeed to many others, it is a way to get a tabletop standard army onto the table in a lot less time.

So what is dipping? Well, it is basically the process of dipping painted models into a coloured wood stain, shaking off the excess and letting it dry.  The idea being that the stain or varnish naturally highlights and shades the model.  Many painters already use a variation of this technique when they apply ink washes, this is simply taking a step further.

Like any new painting technique, the first few times you try it the model may well look shite, so test it out on some old ones first.

This is how I painted mine - hopefully you can learn from my mistakes :) Apologies in advance for the photos-they were taken with my iPhone's outdated camera...

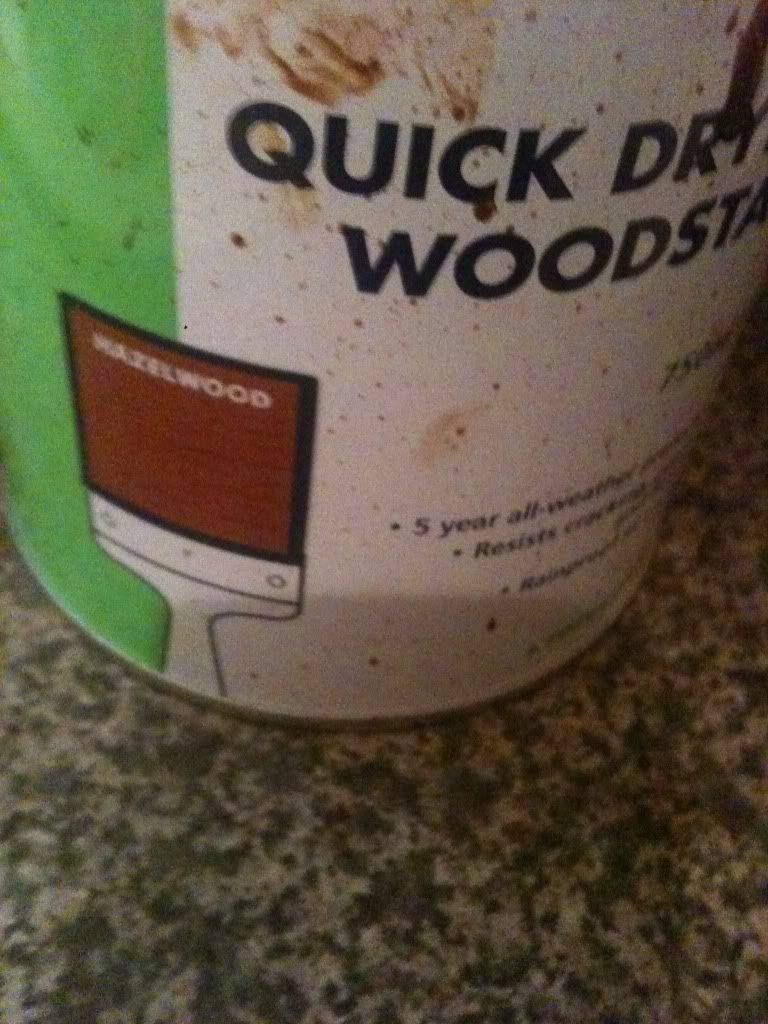
Get a can of wood stain or varnish (you can also use Army Painter-IMO same thing but twice the price...) (other people love it though so horses for courses). Make sure it's a water soluble one as it makes thinning it and cleaning the brushes MUCH easier :)

Photobucket

Get the models you want to dip - I find organic looking models, or stuff with lots of texture is best for this, so Tyranids are perfect BUT there are many people who have used dipping on different models like Space Marines, Empire Soldiers, Imperial Guardsmen. 

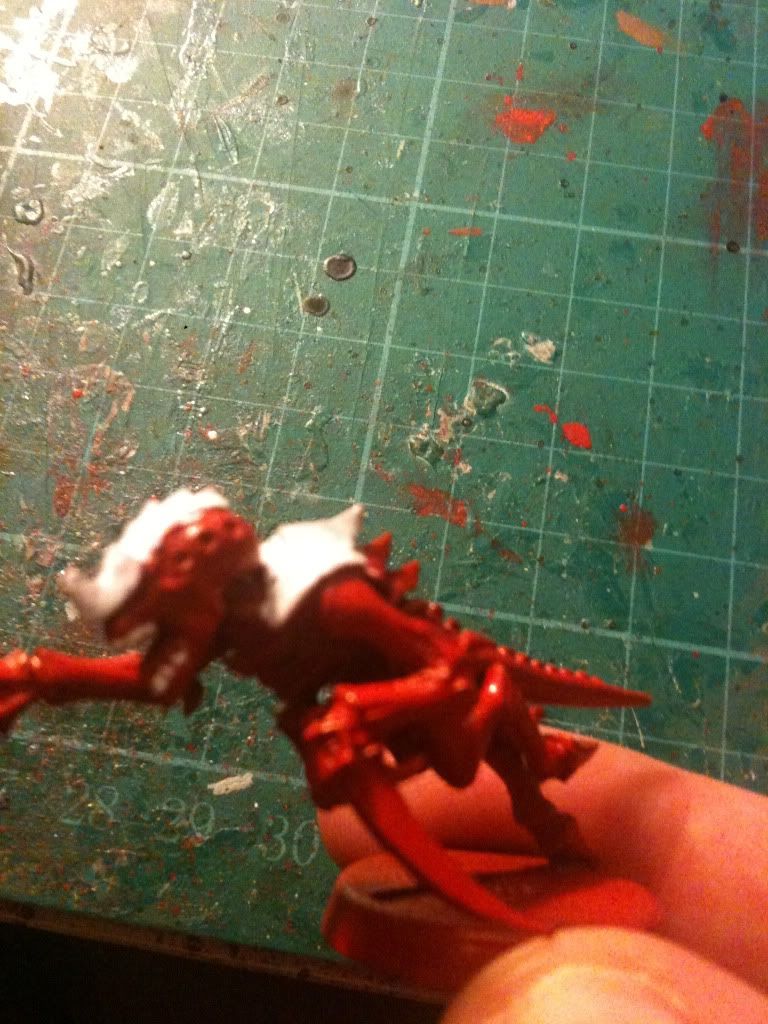
    Paint the basic colours on to them. In this example I have a half finished hormagaunt - the carapace/bony bits will be white, the skin stays red and then some green on the organic bits to add some variation.
    Photobucket
      Give the can of woodstain a good shake and a good stir - a piece of wooden dowling is ideal for this.  I also found that adding a bit of water to the mix helps to ease the consistency.  Then apply the dip with a brush - Yes, I said a brush. I KNOW it's called dipping but I found a much better finish is obtained with a brush - a bog standard GW tank brush is perfect. Make sure you apply the dip in the same direction to achieve a consistent finish.

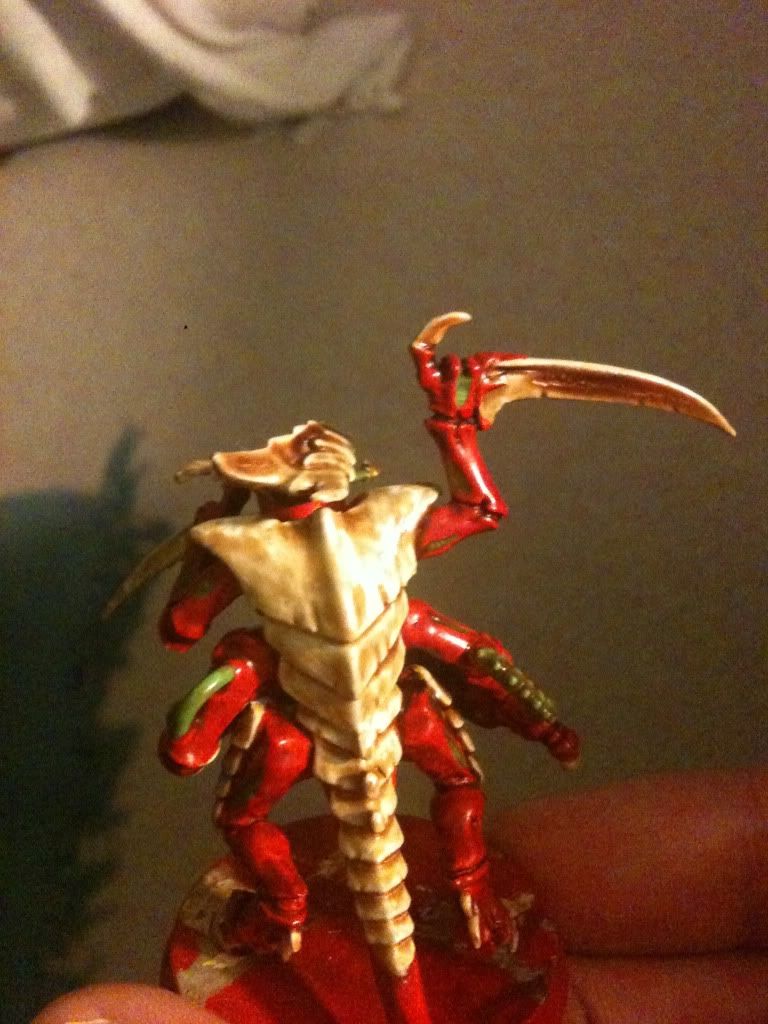
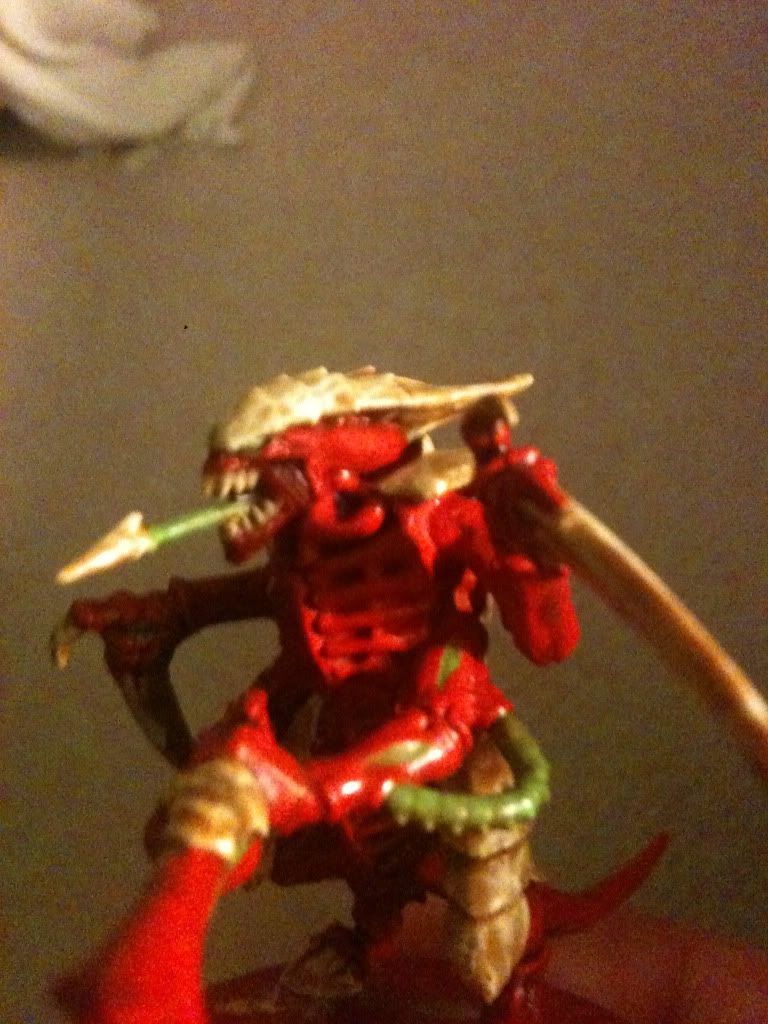
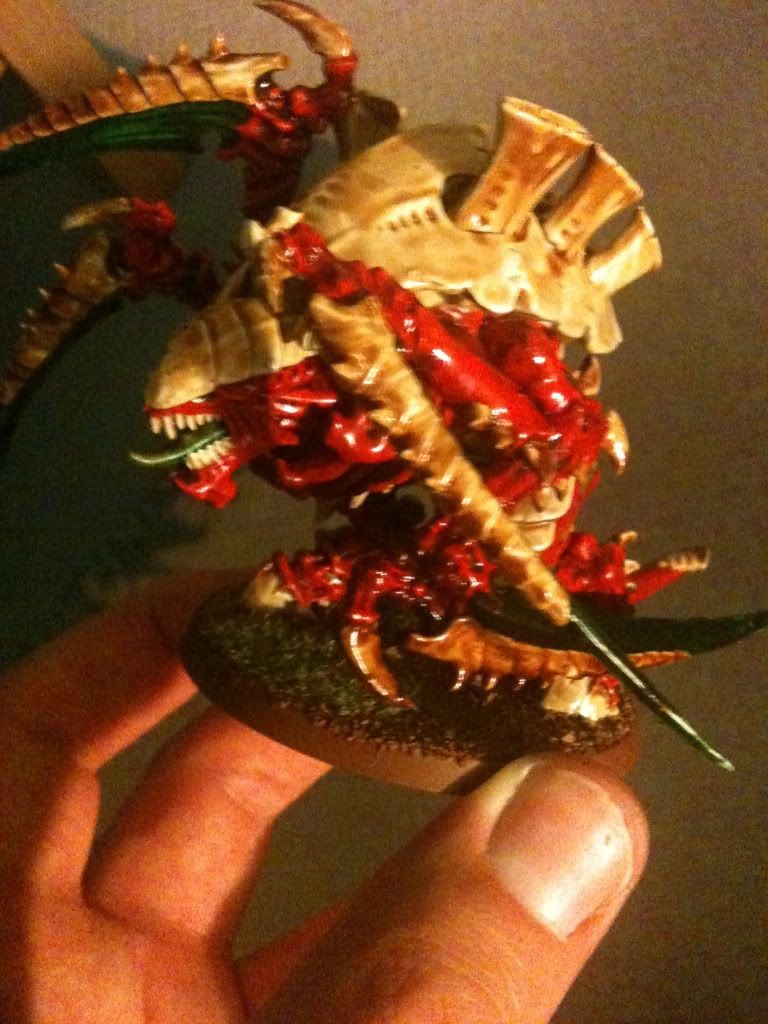
      The first models I did were my Tyranid Warriors-the final result was pretty much what I was after-a nice slimy organic feel :)

      Photobucket

      Photobucket


      As did the Carnifexes

      Before
      Photobucket

      After
      Photobucket

      Photobucket

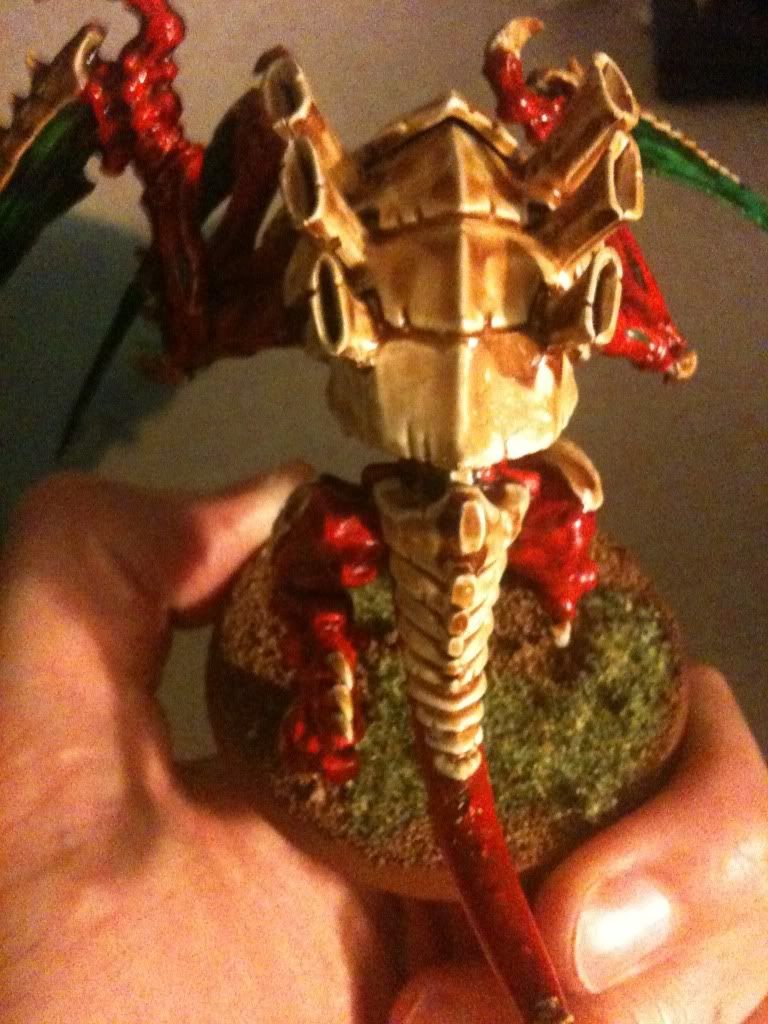
      Unfortunately it was almost 9 months after I finished the Carnifexes that I cracked open the stain again.  Because I hadn't watered down the stain in the first place it had thickened a bit and so my Hive Tyrant came out much darker than I had hoped.

      Photobucket

      So I painted over the carapace, watered down the wood stain and tried again.  I didn't redo the whole model-just the bony bits.

      Photobucket

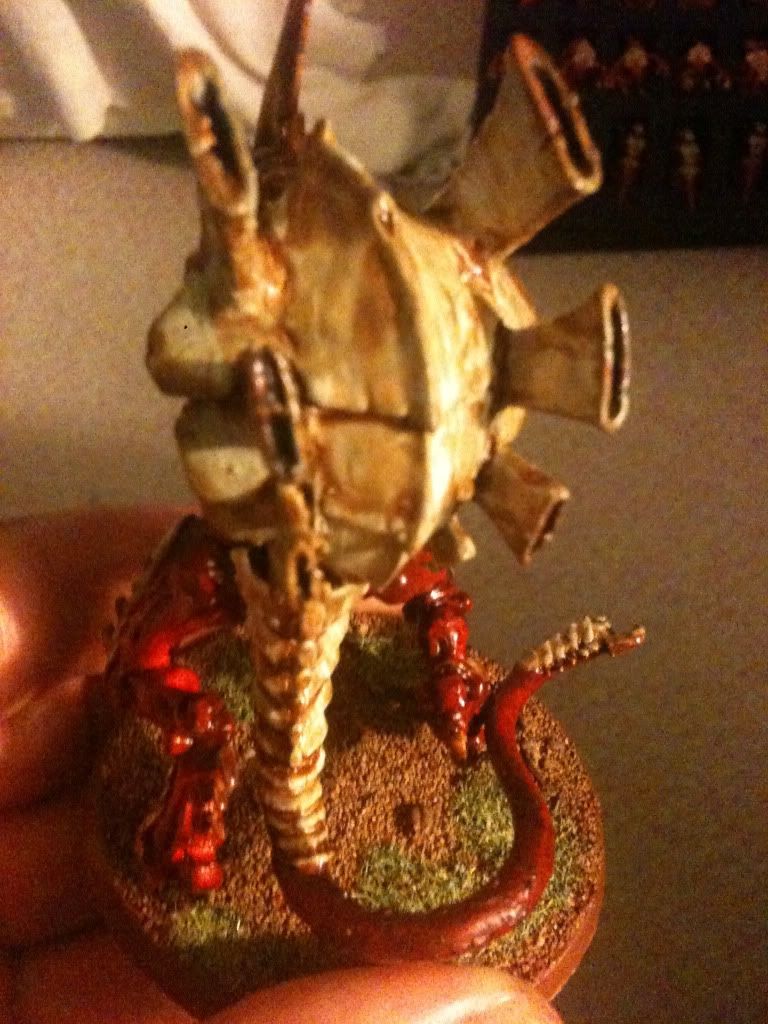
      The great thing with dipping is different base colours give a different effect.  On the termagants, I gave them an Astronomican Grey basecoat for the carapace instead of Skull White. As you can see it has produced a different finish.

      Photobucket

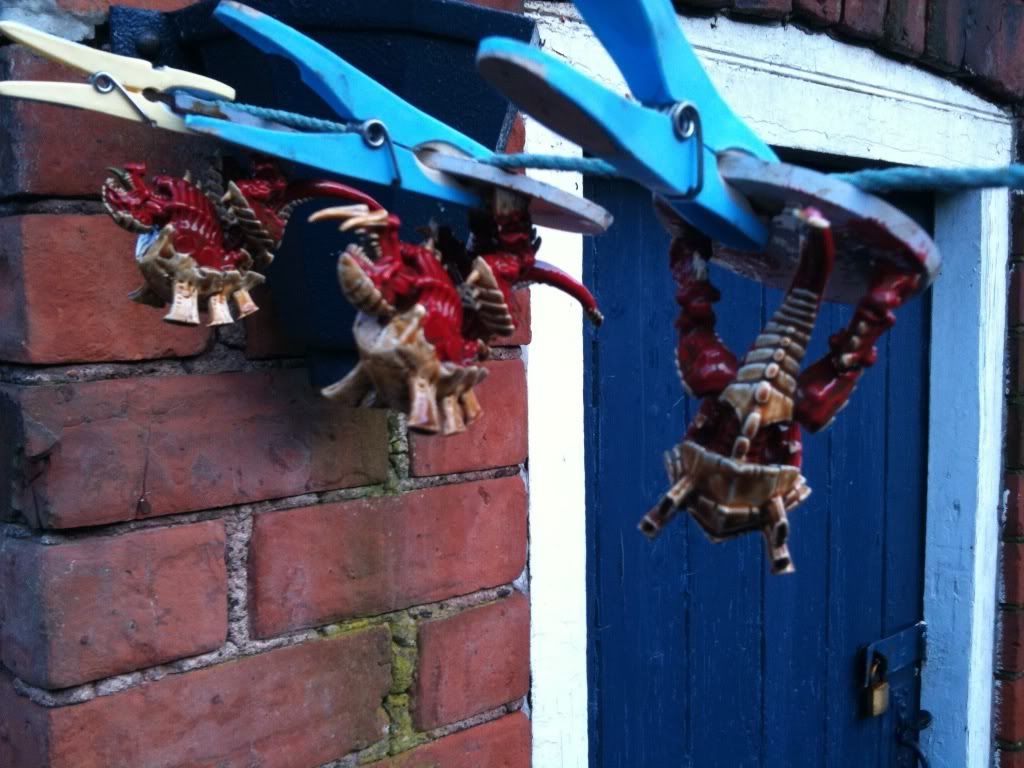
      Once the stain has been applied I generally hang the model upside for about 10 minutes or so from my washing line to allow any excess dip to drip off.

      Photobucket

      Leave to dry for 24 hours, base and spray with a Matt Varnish to protect the model and remove the sheen (not got round to this on any of mine, which is why they are so shiny!)

      Photobucket

      Et Voila - how to dip models (with a brush).  Like with any painting technique, practice makes perfect.  There are numerous different woodstain shades you can buy so just experiment with different colours and different basecoats.

      For those who want to, you can then go back to the model and add further highlighting if you wish.  This is something I will probably do with some of the bigger models at some point in the future, but my priority is getting them table ready at the minute.

      Hope this is useful to someone out there and that my mistakes help prevent too many of your own!

      I will put up more pics of the Tyranids at a later date when they are finished, and when I have access to a decent camera.

      Any comments, or questions then just ask :)