As those of you who know me are aware, Imperial Guard are my main 40k army. I've spent a LONG time collecting and painting all the models, and it's an army I keep going back to and adding more stuff to (mainly tanks but I also have plans for yet another infantry based force with another colour scheme). What people don't know is back in the mists of time of 2nd Edition 40k, my first complete army was Tyranids. This was mainly composed of Tyranid warriors from the classic box game Tyranid Attack (a revised version of Advanced Space Crusade), some genestealers from Space Hulk and the handful of metal models that, given I was only 14 years old with no regular income, I had to wait to get for birthdays etc. It was a reasonably successful army but lacked a lot of the core elements of a Tyranid army, so no carnifexes or termagants.
So fast forward 15 odd years and I got my sticky hands on three of the old battleforces, along with a few other bits and pieces to make a nice solid core and enough for a viable Apoc force. But then the question came as to how to paint them? After having spent 2.5 years painting 90 Guardsmen, could I stomach painting 100 odd gaunts?
NO!
So what were my options? Simples! Dipping!
The very concept of dipping an army is anathema to many painting purists. They feel it is cheating, and that it takes away all the pleasure and satisfaction of a nicely painted army that has taken longer than the Great Wall of China to paint. To me, and indeed to many others, it is a way to get a tabletop standard army onto the table in a lot less time.
So what is dipping? Well, it is basically the process of dipping painted models into a coloured wood stain, shaking off the excess and letting it dry. The idea being that the stain or varnish naturally highlights and shades the model. Many painters already use a variation of this technique when they apply ink washes, this is simply taking a step further.
Like any new painting technique, the first few times you try it the model may well look shite, so test it out on some old ones first.
This is how I painted mine - hopefully you can learn from my mistakes :) Apologies in advance for the photos-they were taken with my iPhone's outdated camera...
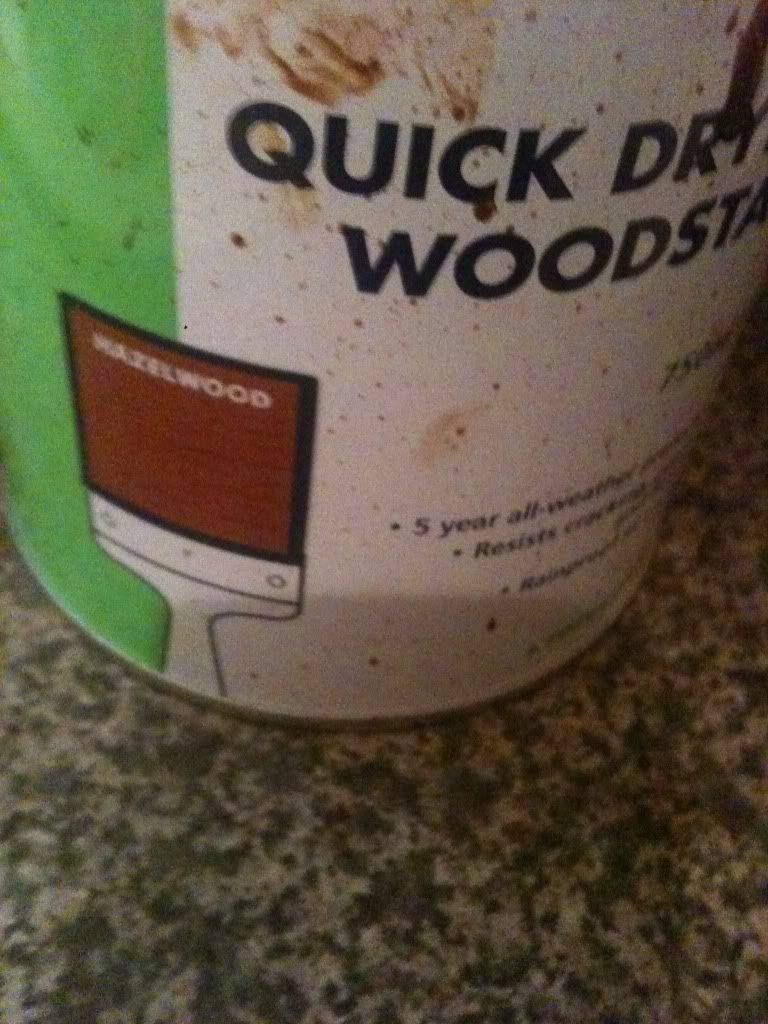
Get a can of wood stain or varnish (you can also use Army Painter-IMO same thing but twice the price...) (other people love it though so horses for courses). Make sure it's a water soluble one as it makes thinning it and cleaning the brushes MUCH easier :)
Get the models you want to dip - I find organic looking models, or stuff with lots of texture is best for this, so Tyranids are perfect BUT there are many people who have used dipping on different models like Space Marines, Empire Soldiers, Imperial Guardsmen.
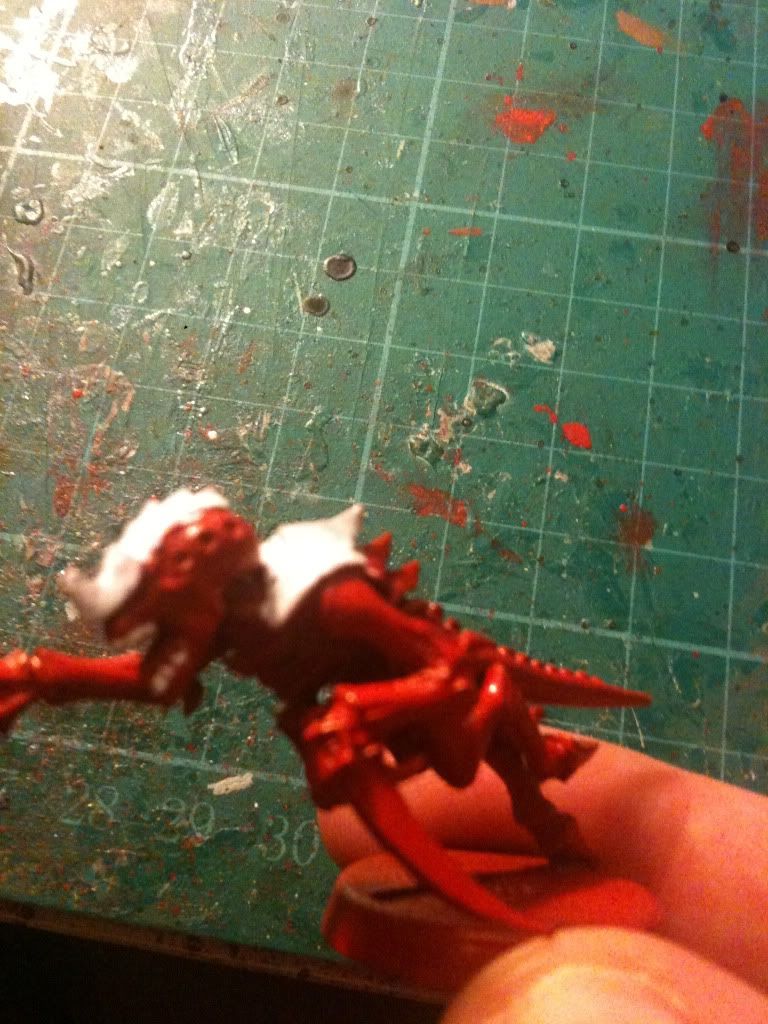
Paint the basic colours on to them. In this example I have a half finished hormagaunt - the carapace/bony bits will be white, the skin stays red and then some green on the organic bits to add some variation.
The first models I did were my Tyranid Warriors-the final result was pretty much what I was after-a nice slimy organic feel :)
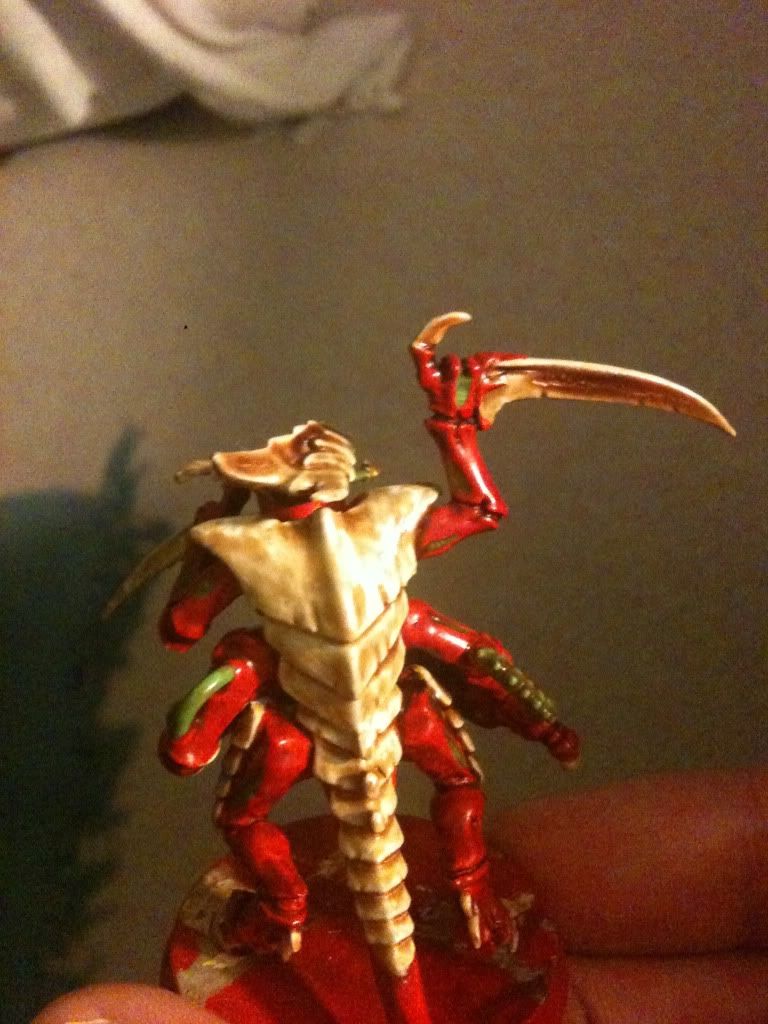
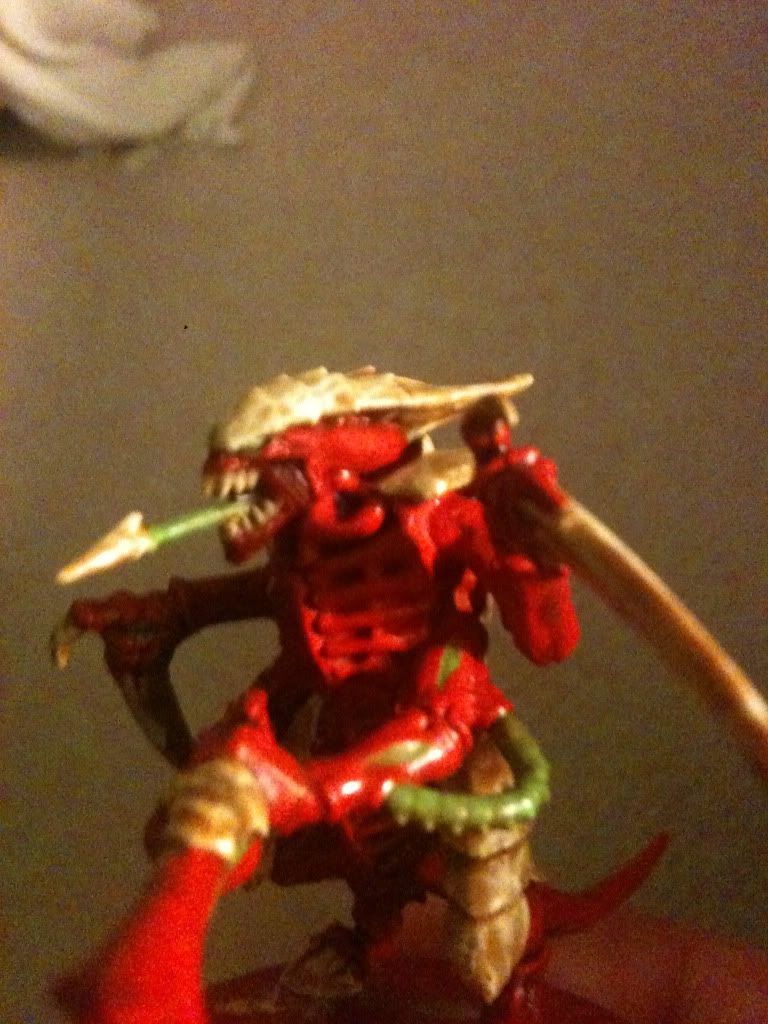
As did the Carnifexes
Before

After
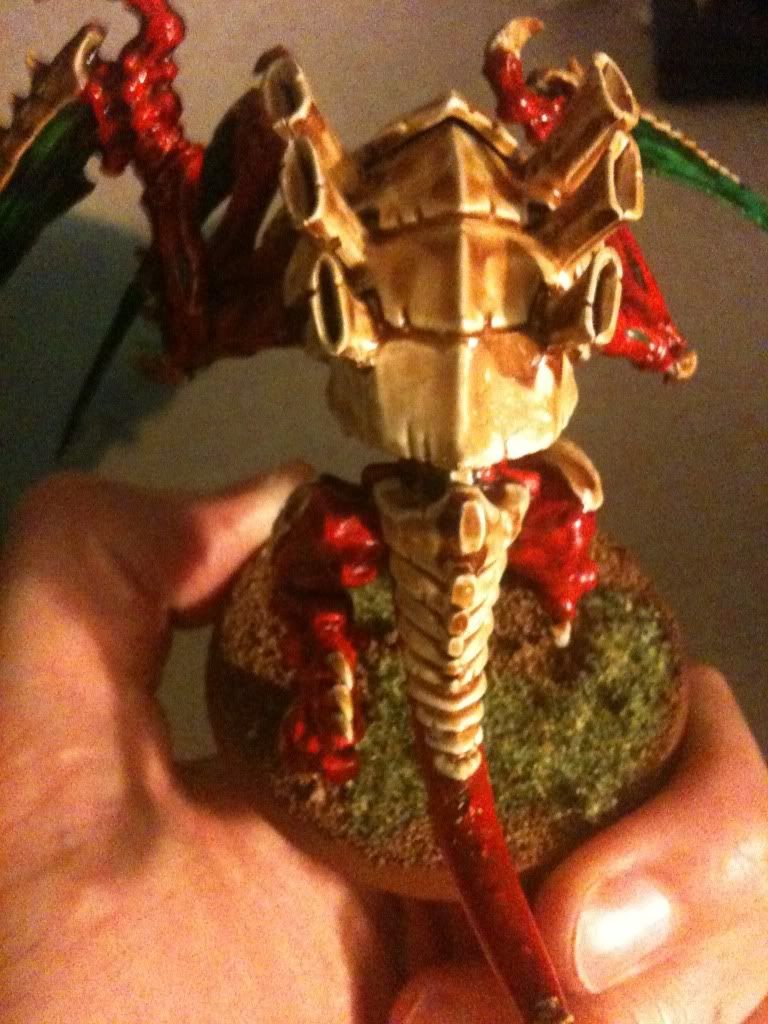
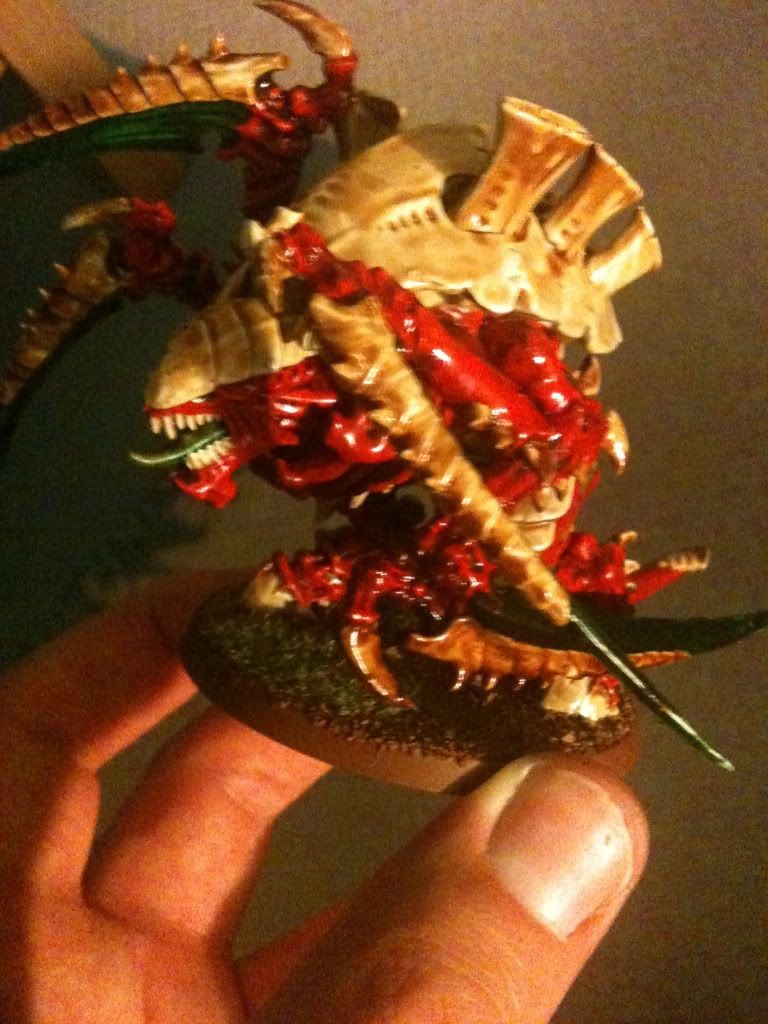
Unfortunately it was almost 9 months after I finished the Carnifexes that I cracked open the stain again. Because I hadn't watered down the stain in the first place it had thickened a bit and so my Hive Tyrant came out much darker than I had hoped.
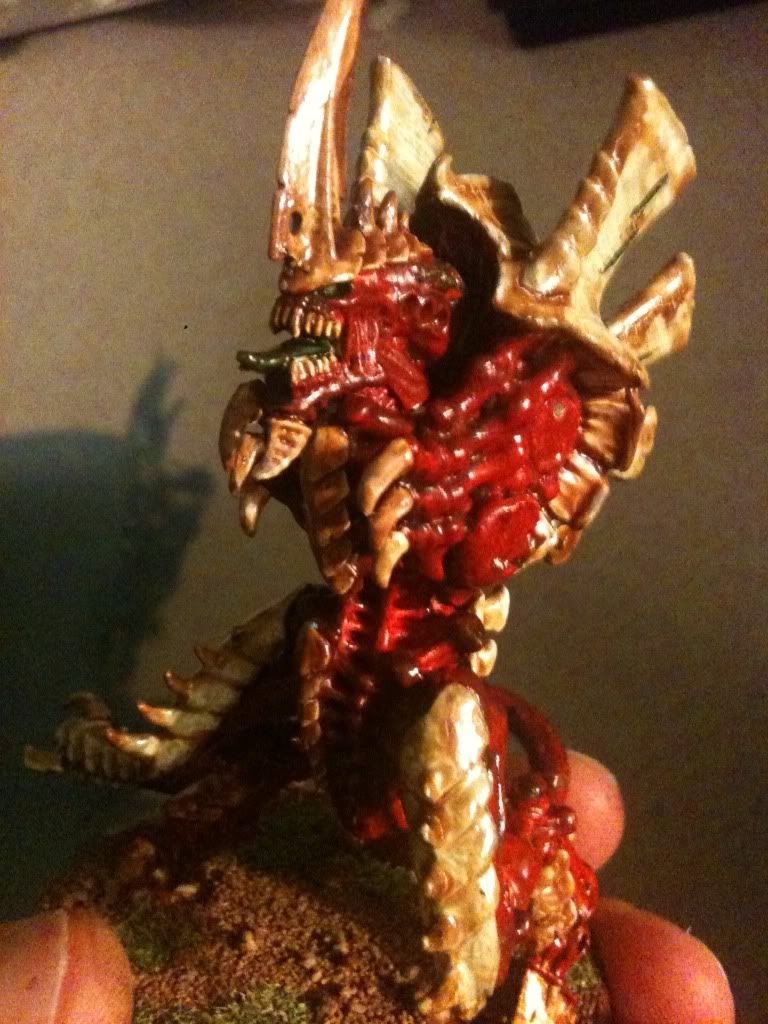
So I painted over the carapace, watered down the wood stain and tried again. I didn't redo the whole model-just the bony bits.
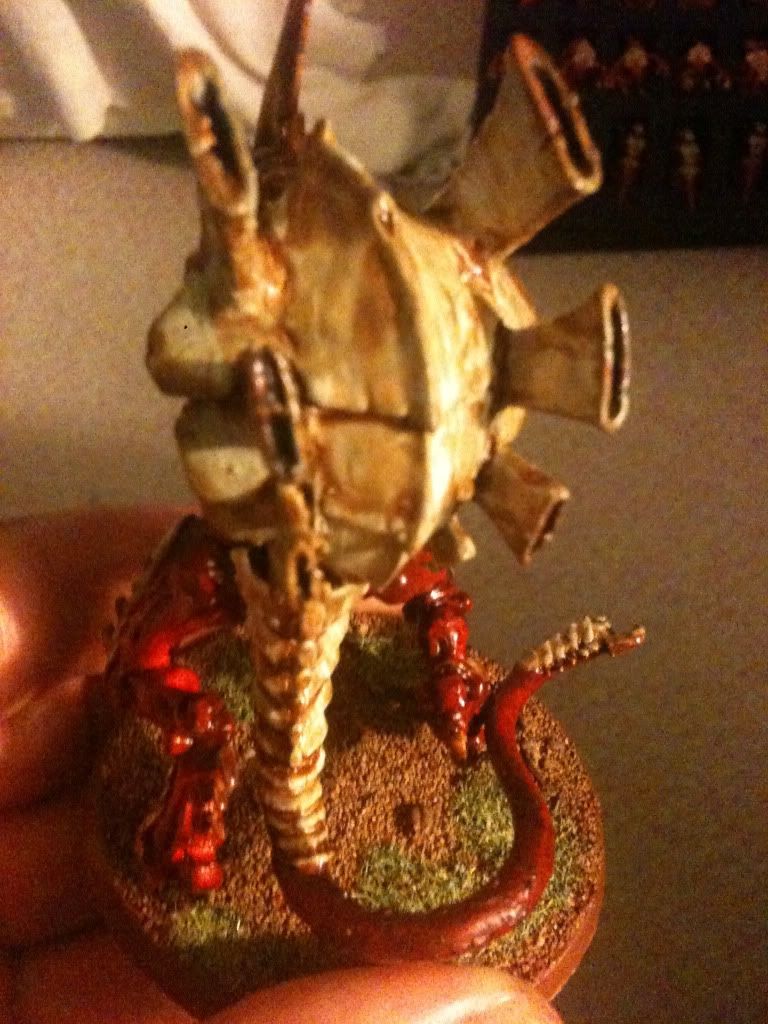
The great thing with dipping is different base colours give a different effect. On the termagants, I gave them an Astronomican Grey basecoat for the carapace instead of Skull White. As you can see it has produced a different finish.
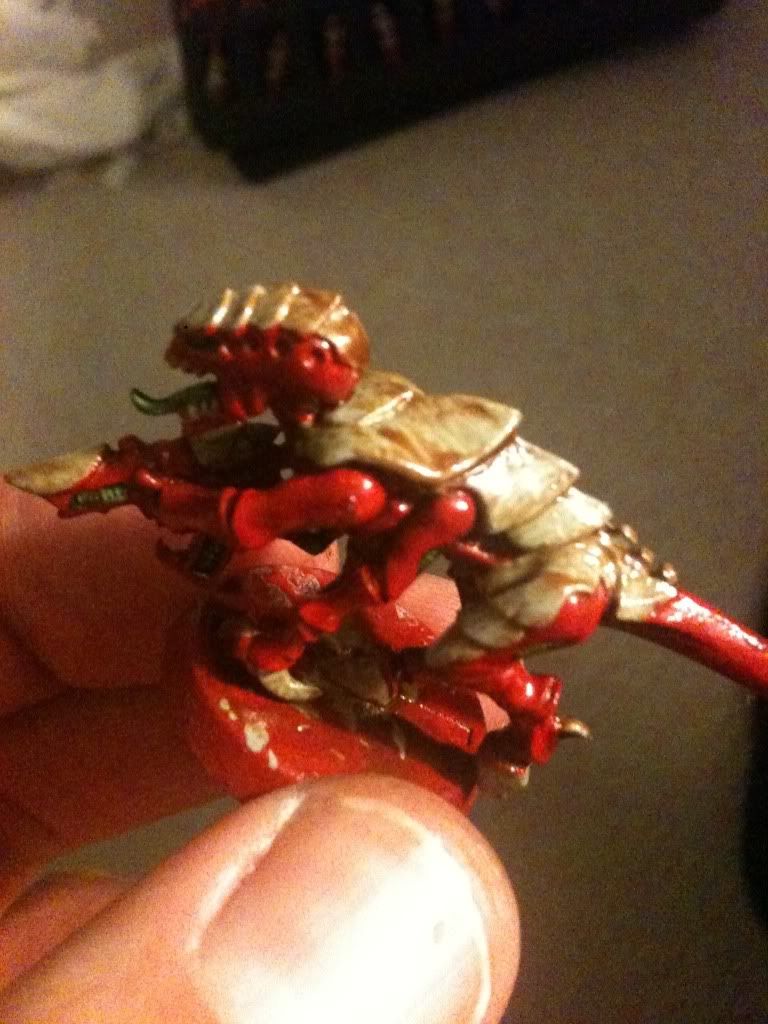
Once the stain has been applied I generally hang the model upside for about 10 minutes or so from my washing line to allow any excess dip to drip off.

Leave to dry for 24 hours, base and spray with a Matt Varnish to protect the model and remove the sheen (not got round to this on any of mine, which is why they are so shiny!)
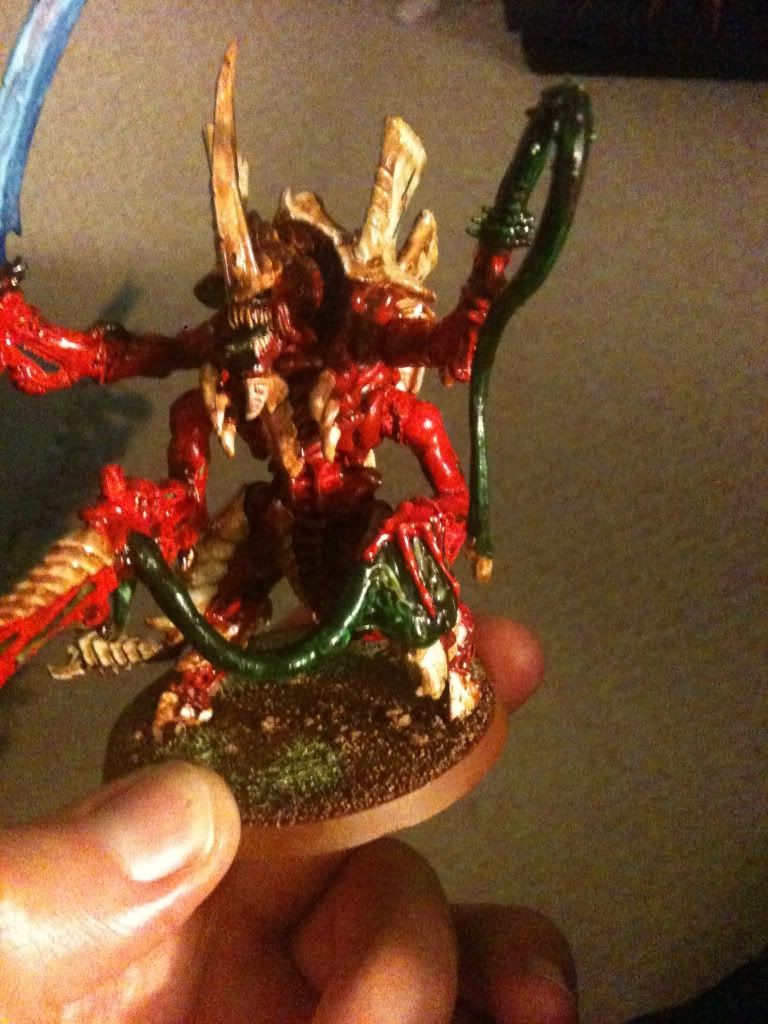
Et Voila - how to dip models (with a brush). Like with any painting technique, practice makes perfect. There are numerous different woodstain shades you can buy so just experiment with different colours and different basecoats.
For those who want to, you can then go back to the model and add further highlighting if you wish. This is something I will probably do with some of the bigger models at some point in the future, but my priority is getting them table ready at the minute.
Hope this is useful to someone out there and that my mistakes help prevent too many of your own!
I will put up more pics of the Tyranids at a later date when they are finished, and when I have access to a decent camera.
Any comments, or questions then just ask :)

cracking fella!
ReplyDeletei've a feeling that if I used that then I'd be banging out armies in not time at all!